
Are you frustrated with your lukewarm cup of morning joe? The culprit may be a faulty heating element in your coffee brewer. This blog post is here to guide you through the process of replacing that troublesome part and getting back to brewing hot, fresh coffee at home.
Ready to embrace the warmth again? Let’s dive right in!
Quick Takeaways- The heating element in a coffee brewer is responsible for heating the water and brewing hot, delicious coffee.
- Signs of a faulty heating element include lukewarm coffee, strange sounds, leaks, and automatic shutoffs.
- To replace the heating element, disconnect the power source, remove the old one, install the new one carefully, test its functionality, and reassemble the coffee brewer.
- If you’re unsure or uncomfortable with DIY repairs, it’s best to consult a professional.
Understanding the Coffee Brewer Heating Element

The heating element in a coffee brewer is an essential component responsible for heating the water and brewing the perfect cup of coffee. It plays a crucial role in the overall functionality of the machine, making it important to understand its function and how to identify signs of a faulty heating element.
Importance and function of the heating element
Hot water is key for good coffee. The heating element makes this happen. It plays two big jobs in your coffee maker. First, it heats the water fast for brewing. Then, it keeps the coffee warm once it’s made without burning it.
This part has to work well for tasty coffee every time. So, you can see why we say the heating element holds a top spot in a coffee machine.
Signs of a faulty heating element
Your coffee brewer heats up the water with a part called a heating element. It’s like the heart of your machine. But sometimes, this part can stop working right. Here are some signs you might notice if it is broken:
- Your coffee doesn’t get hot anymore: This could mean that there is a problem with the heating unit or electrical fuse in your coffee maker.
- You hear strange sounds: Noisy operation often points towards a faulty heating element.
- Your coffee maker leaks water: This could lead to an electrical shock or even start a fire. Be very careful if you see this sign!
- The machine keeps turning off on its own: A bad water pump can make the heater turn off so it doesn’t get too hot and break.
- Keep note of where all wires and parts go when you are taking out the old heater: You will need to put them back in the same spots when you put in a new one.
- Other parts of the machine might also have problems like leaks, bad pumps, or broken carafes and water tanks.
Step-by-Step Guide to Replacing the Coffee Brewer Heating Element
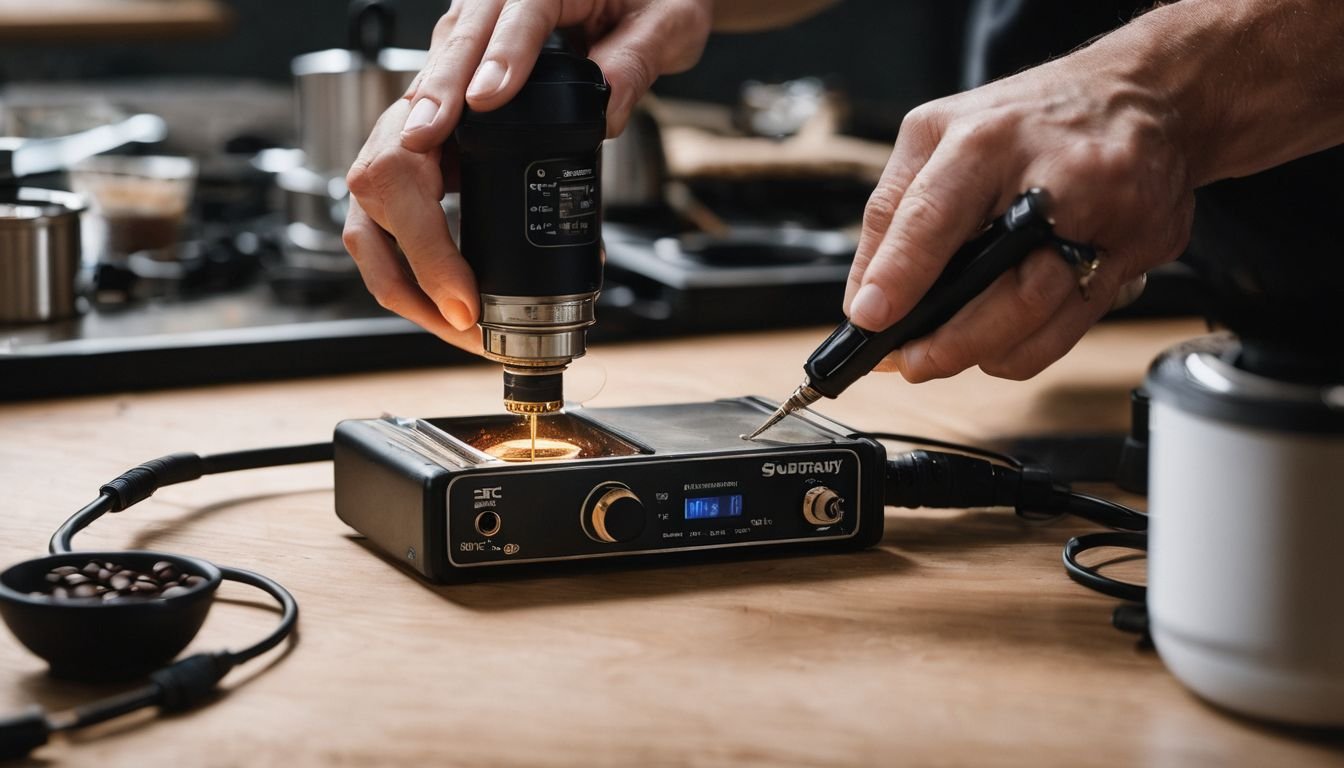 coffee brewer heating element using portable soldering iron.” title=”Person replaces coffee brewer heating element using portable soldering iron.” class=”awimage” />
To replace the coffee brewer heating element, gather the necessary tools such as a portable soldering iron and a Torx security screwdriver. Disconnect the power source to ensure safety before removing the old heating element.
Carefully install the new heating element and test it to ensure proper functionality. Finally, reassemble the coffee brewer according to its specific instructions.
Gathering the necessary tools
You will need some tools to fix your brewer’s heating element. Find a screwdriver that is right for your coffee maker’s screws. You also need a new heating element for your maker. Be sure the element you buy is the same type as your old one.
Don’t forget about safety gear too! Use gloves to keep your hands safe and glasses to protect your eyes. Moreover, a meter can help find if the old part has problems or not. Wrenches may be useful in taking out tight parts as well.
Disconnecting the power source
Before you start replacing the coffee brewer heating element, it is crucial to disconnect the power source. This step ensures your safety during the replacement process. To do this, simply unplug the coffee brewer from the electrical outlet or turn off its power switch.
By cutting off the power supply, you eliminate any risk of electric shock or damage to the heating element. Always remember to disconnect the power source before adjusting or working on your coffee brewer.
It’s a necessary precaution mentioned in the installation/operation manual and an important step whenever you empty or fill up your brewer with water too.
Removing the old heating element
To remove the old heating element from your coffee brewer, you will need to follow a few simple steps. Start by unplugging the coffee maker and removing any remaining coffee and filter.
Then, turn it over to access the base of the machine. Locate the heating element, which is usually a metal rod or coil. Carefully disconnect any wires or components connected to the heating element, making sure to mark their locations for reconnection later on.
Use a screwdriver or wrench to loosen and remove the old heating element from its position in the base of the coffee maker. Once removed, you can proceed with installing a new heating element following similar steps in reverse order.
Finally, test whether your new heating element is working properly before reassembling your coffee brewer.
Installing the new heating element
To install the new heating element in your coffee brewer, first make sure you have all the necessary tools. Then, disconnect the power source to ensure safety. Carefully remove the old heating element while noting the location of wires and components for proper reconnection later on.
Next, install the new heating element securely in place. Test it to make sure it’s working properly before reassembling your coffee brewer. Remember to consult the installation instructions for any specific recommendations regarding water pressure and connection to a potable water source.
Testing the new heating element
Once you have installed the new heating element in your coffee brewer, it’s important to test its functionality. You can do this by using a multimeter to check for continuity. Simply set the multimeter to the appropriate setting and touch one probe to each terminal of the heating element.
If there is continuity, it means that electricity can flow through the heating element, indicating that it is working properly. This step is crucial in ensuring that your coffee maker will now be able to brew hot and delicious coffee as intended.
Remember to always turn off the power before testing or replacing any electrical components for your safety!
Reassembling the coffee brewer
To reassemble your coffee brewer after replacing the heating element, start by connecting the base of the coffee maker. Make sure to line up any tabs or slots before securing it in place.
Once the base is secure, you can fill the water tank with fresh water and add your desired amount of ground coffee to the brew cone. Now, you’re ready to test your repaired coffee brewer by brewing a delicious cup of joe.
Remember to follow any specific instructions from Cafection or Evoca for troubleshooting or additional support if needed. Enjoy your freshly brewed coffee!
Troubleshooting Additional Issues with Coffee Brewer
To troubleshoot additional issues with a coffee brewer, you can learn how to repair a coffee brewer with a broken drip tray.
Repairing a Coffee Brewer with a Broken Drip Tray
If your coffee brewer has a broken drip tray, it’s important to identify the worn or broken parts. A common repair for this issue is to replace the drip tray with a new one. You can contact suppliers who provide replacement parts for coffee makers, such as drip trays.
By replacing the broken drip tray, you can ensure that your coffee brewer functions properly and avoids any potential mess caused by dripping liquids.
Can Grounds in Cup Issue be Caused by a Faulty Heating Element in Breville Barista Express?
A faulty heating element in the Breville Barista Express can indeed result in grounds in cup issue during the coffee making experience. If the heating element is not functioning properly, it may not reach the optimal temperature required for an even extraction. This can lead to an inadequate extraction, causing grounds to appear in the cup. Proper maintenance and regular checks are recommended to ensure a seamless breville barista express coffee making experience.
Troubleshooting Common Issues with Coffee Brewer Heating Elements
To troubleshoot common issues with coffee brewer heating elements, you can check for no heat despite a new heating element, uneven heating or overheating, strange smells or sounds, and consider consulting a professional.
No heat despite a new heating element
If your coffee brewer still isn’t heating up, even after replacing the heating element, there could be a few possible reasons. One reason could be a blown fuse, which can prevent the heating element from getting power.
Another possibility is a faulty thermostat that’s not properly regulating the temperature. Additionally, a malfunctioning water pump may cause the heating element to shut off and prevent overheating.
To resolve this issue, you may need to consult a professional or consider replacing these components as well. Remember to always unplug your coffee maker before attempting any repairs and use proper safety precautions throughout the process.
Uneven heating or overheating
If you’re experiencing uneven heating or overheating with your coffee brewer, it could be a sign of a problem with the heating element. Uneven heating means that some parts of the coffee might not get hot enough, resulting in an inconsistent flavor.
On the other hand, overheating can lead to burnt or bitter-tasting coffee. Both these issues can ruin your morning cuppa! It’s important to address these problems promptly to ensure a consistently delicious brew.
Strange smells or sounds
Strange smells or sounds coming from your coffee brewer can be indicators of common issues with the heating element. If you notice an unusual odor, it could mean that there is a problem with the heating element circuit or even a need for its replacement.
On the other hand, if you hear strange noises like clicking or grinding, it might be due to dirt or solid residue trapped in the valve of your coffee maker. These smells and sounds should not be ignored as they can lead to further complications and affect the brewing process.
It’s essential to address these issues promptly and consult a professional if needed to ensure that your coffee brewer continues to function properly.
Consulting a professional
If you’re having trouble with your coffee brewer’s heating element, it can be helpful to seek expert advice. Consulting a professional who specializes in troubleshooting coffee maker issues can save you time and effort.
They have the knowledge and experience to diagnose common problems with coffee brewer heating elements, such as no heat or uneven heating. By relying on their expertise, you can ensure that the issue is resolved correctly and prevent further damage to your coffee maker.
Remember that proper maintenance and care for your coffee maker can also help prevent heating element problems in the future. So don’t hesitate to reach out to a technician if you need assistance with troubleshooting your coffee brewer’s heating element.
Can Turkish Coffee Making Techniques Affect the Heating Element of a Coffee Brewer?
When using a coffee brewer, it’s important to understand how to make Turkish coffee to avoid damaging the heating element. Turkish coffee requires a specific grinding technique and brewing process that may produce a thick, gritty sediment. This can potentially clog the heating element and affect the brewer’s performance over time.
Safety Precautions When Replacing a Coffee Brewer Heating Element
When replacing a coffee brewer heating element, it is crucial to prioritize safety. Unplugging the coffee brewer and using proper insulation and tools are essential steps to avoid accidents.
Discover more safety tips for a successful replacement process.
Unplugging the coffee brewer
Before you start replacing the heating element in your coffee brewer, it is crucial to unplug the machine. This is a vital safety precaution to ensure that you are not at risk of electric shock while working on your coffee maker.
Make sure the power cord is disconnected from the electrical outlet before proceeding with any maintenance or repairs. By taking this step, you can protect yourself and avoid any accidents while working on your coffee brewer.
Taking caution with hot components
When replacing a coffee brewer heating element, it is crucial to take caution with hot components. This includes unplugging the coffee brewer and allowing it to cool down before attempting any repairs or replacements.
Always use proper insulation and tools to protect yourself from burns. When cleaning the coffee brewer, be careful around hot parts and rinse them with cold water to avoid scalding.
Remember to follow the instructions provided in the operator manual for safe handling of hot components in portable pourover coffee brewers. Safety should always be a top priority when working with hot elements in your coffee brewer.
Using proper insulation and tools
To ensure your safety when replacing a coffee brewer heating element, it is important to use proper insulation and tools. Insulating materials such as gloves and heat-resistant pads can protect you from burns and electrical shocks.
Safety equipment like goggles and masks can shield you from any debris or fumes that may be released during the process. When selecting tools, opt for those specifically designed for electrical work, like insulated screwdrivers and wire cutters.
By using these precautions, you can minimize the risk of accidents and complete the replacement task safely. Remember to always prioritize your well-being when working with electrical components.
Conclusion
In conclusion, replacing a coffee brewer heating element is a manageable task that can save you money and extend the life of your beloved coffee maker. By following the step-by-step guide and taking necessary safety precautions, you’ll be able to enjoy hot and delicious coffee once again.
Remember, if you’re unsure or uncomfortable with DIY repairs, it’s always best to consult a professional. Happy brewing!
FAQs
1. Can I replace the heating element in my coffee brewer myself?
Yes, you can replace the heating element in your coffee brewer yourself by following a few simple steps.
2. What tools do I need to replace a coffee brewer heating element?
To replace a coffee brewer heating element, you will need basic tools such as a screwdriver, pliers, and possibly a wrench or socket set depending on your specific model.
3. How do I know if my coffee brewer’s heating element needs replacing?
If your coffee brewer is not getting hot enough or taking longer than usual to heat up, it may be a sign that the heating element needs to be replaced.
4. Where can I purchase a replacement heating element for my coffee brewer?
You can purchase replacement heating elements for your coffee brewer from appliance parts stores, online retailers, or directly from the manufacturer.
5. Is it cost-effective to replace the heating element in my old coffee brewer?
Replacing the heating element in an old coffee brewer can be more cost-effective than buying a new one, especially if the rest of the machine is still functioning well.